The sites are being cleared even as I’m typing this.
So, this is going to be memory soon.
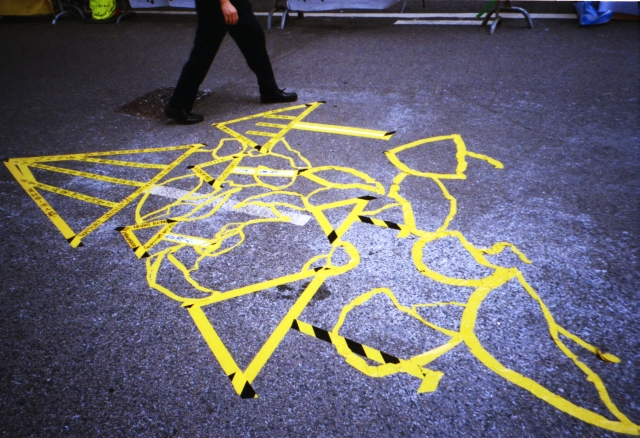
Mong Kok:


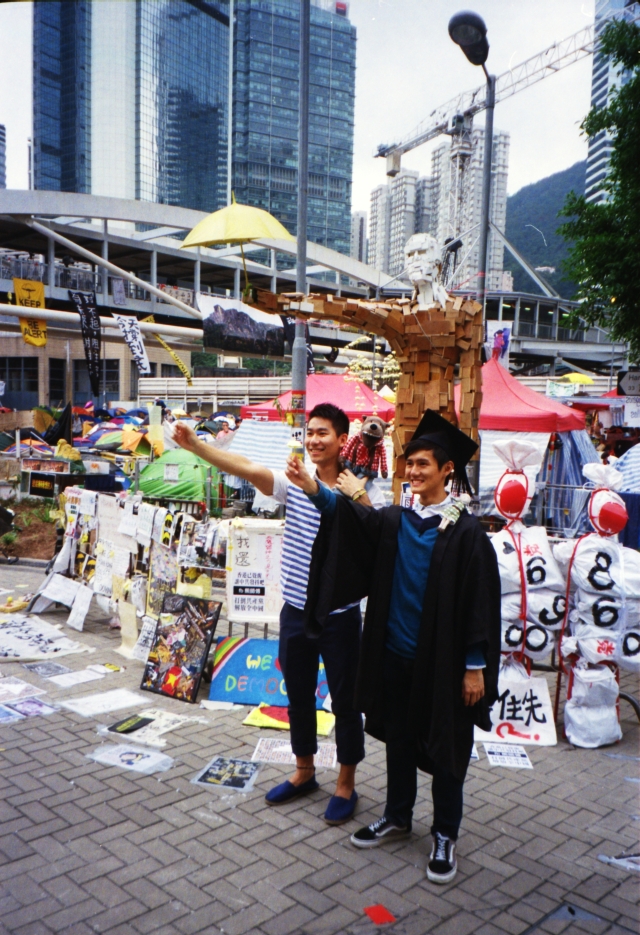
Admiralty:
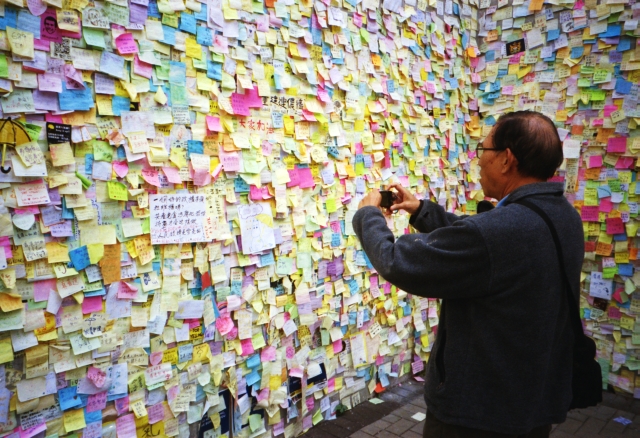


Causeway Bay:


Camera: Contax TVS II
Film: Kodak Ultramax 400
Published by eddietay
I am a poet and an educator. I have come to realise in recent years that the act of writing poetry has trained my mind to be always on the prowl for everyday moments that might be suitable material for my writing.
Hence, I turn to photography in order to record some of these moments. I soon discover that the photographs I am taking, using film rangefinder cameras which are more discreet and hence suitable to the task at hand, are in the tradition of street photography.
In search of poetry, I have become a street photographer.
What can Hong Kong teach me about street photography, and what can street photography teach me about Hong Kong?
This blog seeks to address that question.
View all posts by eddietay


Freedom is an idea, they can’t clear that out. Small steps.
Yes indeed!
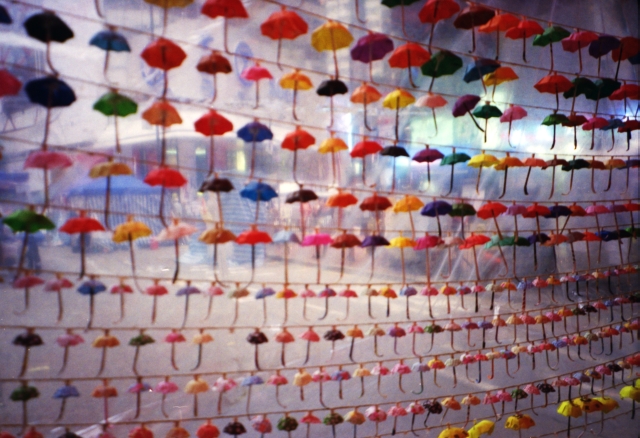
Yellow Umbrella!: Freedom to choose!